We always use custom value sets in Oracle Fusion in different modules for implementation purposes. While some value sets have very less values, so we create the values directly from Manage Value Sets task. But, in some cases, some of our value sets have very long list of values and entering each value from the above mentioned task can really be time taking. So, in order to save our time and get the values uploaded in the value set, we can directly upload a file having all the values of the value set delimited by pipe symbol with some appropriate information. Just follow the below steps:
VALUESETCODE VALUE DESCRIPTION ENABLEDFLAG

Now, your file has been created. The next step is to import that file in the application.


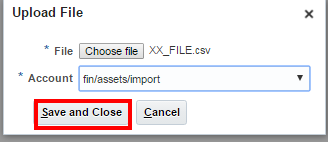
Select your file and Account. Click on Save and Close.
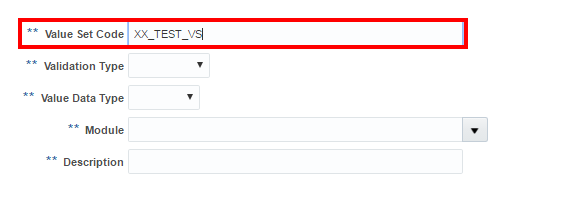
Search for your value set in which you have to upload your values which will obviously be same as the one which you entered in your file.
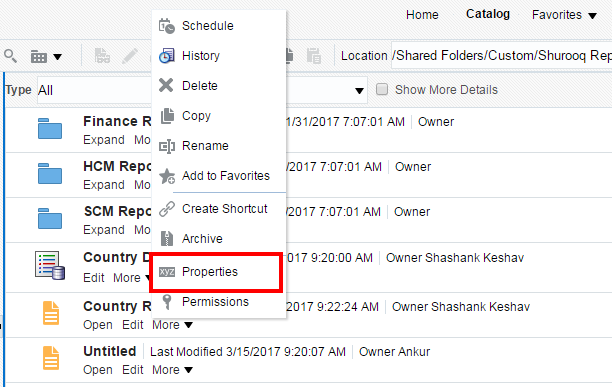
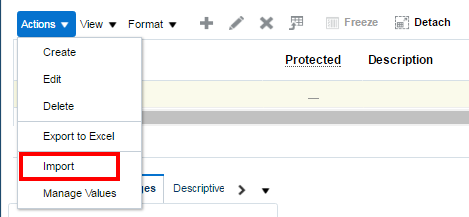
Click on Actions and click on Import.
Enter the file name along with the extension i.e. .csv and select the account which must be the same that was used while importing the file. Click on Upload.

Once the import process completes, click on Manage Values and then click on Search.
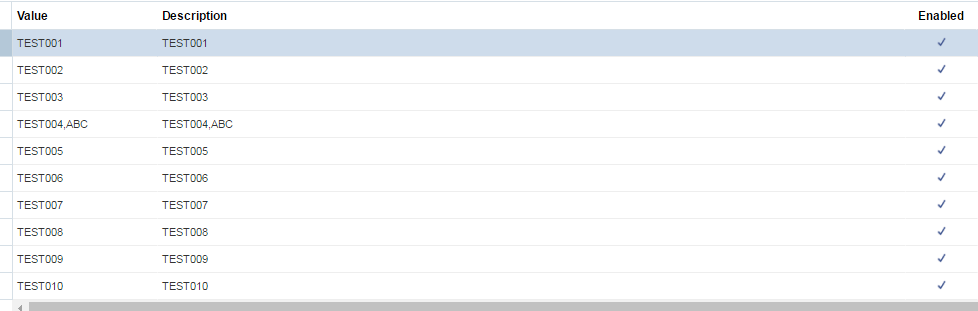
Follow the same steps after then.
For Independent Value Set:
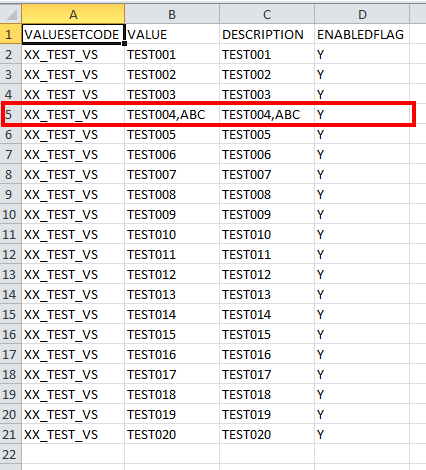
Open a excel file and include the values of your value set in the following order.
where value set code is the code of your value set and value is the value of your value set.
Include as many lines as the number of values required in your value set.
Save the file and give it's type as CSV(Comma Delimited). Remember to replace the comma to any other value if it comes in any value. For E.g., comma comes in my TEST004,ABC value in my 5th row of the data. So, I will replace it by some other value which is not present there in any other value let's say '@'.
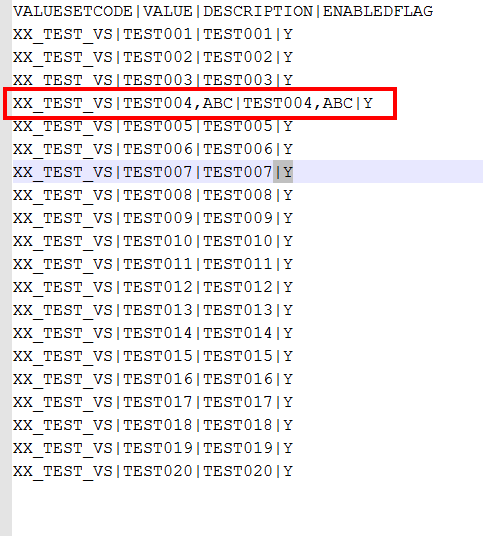
So, my final file now looks like this.
Now, you need to change the commas with pipe symbol as mentioned earlier. To do this, you can use any editor like Notepad++. Simply replace all the commas with pipe and don't forget to replace '@' with comma 😄.
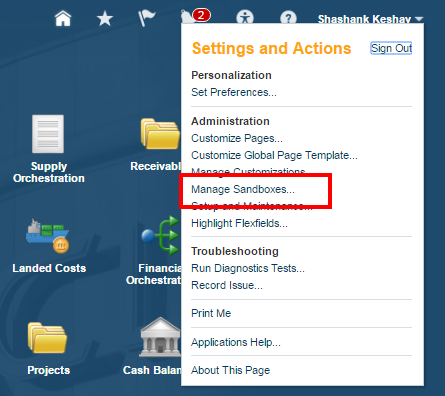
Go to Tools → File Import and Export.
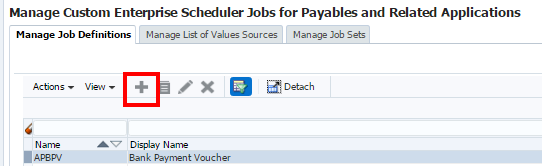
Click on Add Button to import your file.
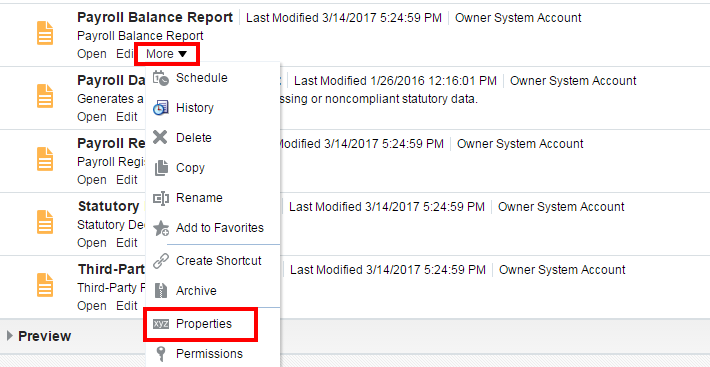
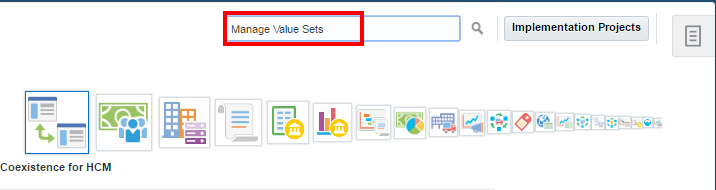
Now, search for Manage Value Sets task in Setup and Maintenance work area.
Search for your value set in which you have to upload your values which will obviously be same as the one which you entered in your file.
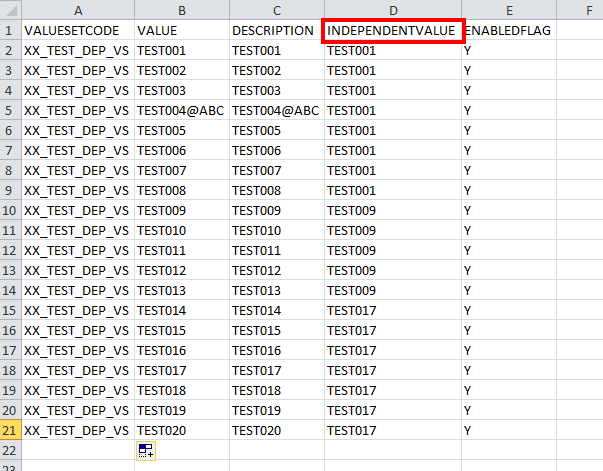
For Dependent Value Set:
For dependent value set, follow the same steps as above except that you need to include a column for independent value in you file as well. So, the proper order will be:
VALUESETCODE VALUE DESCRIPTION INDEPENDENTVALUE ENABLEDFLAG
The file will look something like this:
Follow the same steps after then.
If you are getting stuck and need any further help in the above steps or anything in Oracle Cloud Applications, just drop me a mail at shashank731@live.com.
If you liked this post, remember to share it with your friends and colleagues as well. See you Soon.
Happy E-learning.
If you liked this post, remember to share it with your friends and colleagues as well. See you Soon.
Happy E-learning.